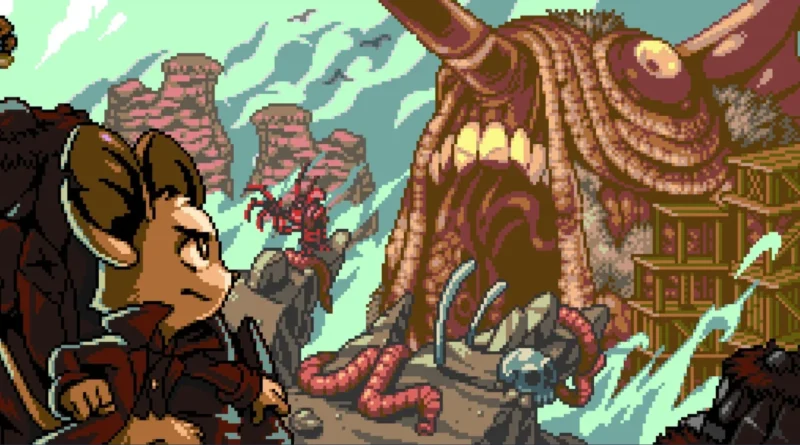
Mina The Hollower: Complete Stomach Mines Guide — How To Clear Every Puzzle and Find Every Secret
Mina The Hollower: Complete Stomach Mines Guide — How To Clear Every Puzzle and Find Every Secret
Mina the Hollower is one of those games that genuinely delights in watching you struggle. Yacht Club Games built their reputation on Shovel Knight — a game that was brutally difficult while somehow remaining completely fair — and Mina the Hollower carries that exact same DNA. It wants you to feel lost. It wants you to stare at a room for two minutes before you figure out what it’s actually asking you to do. And then when you figure it out you feel like the smartest person alive for about thirty seconds before the next area does it all over again. I love it completely and the Stomach Mines almost broke me. Almost.
The Stomach Mines is one of the trickiest areas in the game — not because of the enemies, which are manageable once you know what you’re dealing with, but because of the puzzle structure. The dimension-swapping mechanic that defines this section is clever and slightly cruel in equal measure, and the two button puzzle in the middle of the area is the kind of thing that looks simple and then makes you feel genuinely stupid until the solution clicks. This guide covers everything — how to get there, how to navigate it, how to solve every puzzle, and where to find the secrets you might have missed on your way through.
How To Get To The Stomach Mines
Before you can even think about the Stomach Mines you need to reach Bone Beach first. If you haven’t done that yet — go do that first and come back. Once you’re at Bone Beach and exploring the area you’re looking for a very specific visual cue that is easy to miss if you’re not paying attention. Head to the upper east corner of the area near the large beached creature. You’re looking for a section of floor that has a sparkly, shimmering quality to it — it looks slightly different from the regular floor and that difference is the game telling you something in its own subtle way.
Fall through the sparkly floor. That’s it. The game is not going to hold your hand here and that’s by design — Mina the Hollower respects you enough to let you figure out that glowing floors are interactive without putting a flashing arrow over them. Once you fall through, follow the path downward and forward and you will arrive at the entrance to the Stomach Mines. Take a moment to look around and get your bearings before you proceed because this area is going to ask you to hold two versions of the same space in your head simultaneously and arriving oriented makes that significantly easier.
Understanding The Dimension Swap — How This Area Actually Works
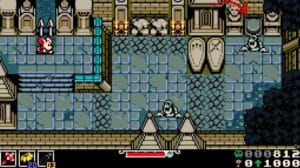
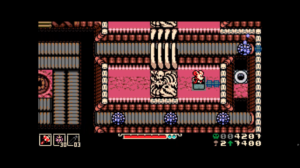
The Stomach Mines is built around a mechanic that defines the entire area — a dimension swap that creates two parallel versions of the same space. When you first arrive you will see a burrow in the center of the area surrounded by moving walkways. That burrow is the key to everything in this section. Go through it and you will be transported to a replica of the area — same layout, same general structure, but with differences that make previously impassable sections accessible and vice versa.
The way to think about it is this — things that block your path in one version of the area are often passable in the other, and things that are open in one version are sometimes blocked in the other. Every time you feel stuck in the Stomach Mines the answer is almost always to go back through the central burrow and approach the problem from the other dimension. Once that logic is in your head the area becomes much more manageable. Before that click happens it feels completely arbitrary. Trust the burrow. It is always the answer.
Clearing The Central Room — Enemies First, Puzzles Second
When you arrive in the central room of the Stomach Mines the first thing you should do before touching anything else is clear out every enemy in the space. I know the temptation is to immediately start working on the puzzle — there are moving walkways and sparkly floors and things to interact with everywhere and your brain wants to start solving immediately. Resist that. Enemies in this room will interrupt you at the worst possible moments if you leave them alive and the Stomach Mines puzzle requires enough concentration without also managing damage from enemies who have noticed you.
Take your time, clear everything out, and then survey the room properly. You are looking for two buttons that need to be pressed to unblock the path ahead at the top of the room. Both are accessible through a combination of the bat handles scattered around the area and the dimension swap mechanic. Neither is immediately obvious. Here is exactly how to reach both of them.
How To Hit The First Button
The first button is on the left side of the area and reaching it requires the bat handles — the grabbing points that let Mina swing and fling herself across gaps. Head to the left side of the central room and locate the bat handles positioned over the gap. Grab on and use them to fling Mina across the gap and into the square-shaped hole on the other side. The momentum from the bat handles carries you exactly where you need to go — this is one of those moments where the game’s physics are doing the work for you as long as you commit to the swing rather than trying to control the trajectory too precisely.
Before you hit the first button — if you want the secret in this area, fall down the smaller rectangular hole just below the square-shaped hole rather than going through the square. This drops you to a hidden area containing a golden Skull which is worth grabbing if you’re being thorough. Come back up and go through the square-shaped hole after collecting it. Hit the first button and you are halfway there. The second one is where things get genuinely tricky.
How To Hit The Second Button — The Tricky One
The second button requires the dimension swap and a specific sequence of movements that is not immediately obvious. Start by heading to the right-hand side of the area and passing through the central burrow to swap dimensions. Once you are in the alternate version of the area head to the right side and watch the bat handles carefully — you are waiting for them to begin despawning in the bottom corner. When they start despawning let Mina fall through the floor at that moment. If you time it correctly you will land to the left of the key in the lower section of the area.
From that position you will see a purple ball nearby. Bounce on it. The bounce launches Mina upward to the switch above — hit the switch and you will trigger something important. The switch activates the spawning of more purple balls on the top conveyor belt above you. This is the setup for the next part of the puzzle so make sure you actually hit the switch rather than just landing near it and moving on.
Now here is the part that gets people stuck. You need two or more purple balls on the top conveyor before the next step works. Once you have confirmed that at least two balls are moving on the conveyor above, bounce back down to the original position you fell from. From there hit the bottom obstacle to clear it — this opens the vertical path upward. Then use the purple balls to bounce upward repeatedly, gaining height with each bounce, until you land on the platform where the second button is waiting. Press it. Both buttons are now active and the path ahead at the top of the central room is unblocked.
Getting Through The Rest Of The Stomach Mines
With both buttons pressed return to the central area and head north through the now unblocked passage. The remainder of the Stomach Mines builds on the same mechanics you have been using — sparkly floors, the central burrow dimension swap, bat handles, and bounce pads — but combines them in ways that get progressively more demanding. The same logic applies throughout — when you are stuck, swap dimensions. When you cannot reach something, look for bat handles or bounce pads that create the path. The game is always giving you the tools you need. It just never tells you in which order to use them.
Keep clearing enemies before attempting puzzle sections as you push north through the area. The Stomach Mines gets more chaotic with enemy placement as you go deeper and the combination of managing attacks while trying to execute a specific platforming sequence is exactly the kind of situation this game likes to manufacture. Deal with the enemies, read the room, and then execute. That rhythm will carry you through everything the Stomach Mines throws at you.
Stomach Mines Secrets and Collectibles — Full Checklist
Here is every secret and collectible confirmed in the Stomach Mines so you can make sure you have not missed anything before you leave the area:
Golden Skull — Found by falling through the smaller rectangular hole below the square-shaped hole on the left side of the central room before hitting the first button. Easy to miss if you go straight for the button without checking the hole below it.
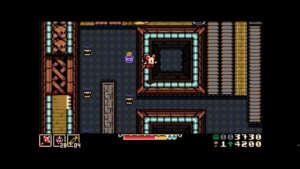
First Button — Reached via bat handles on the left side of the central room. Required for progression.
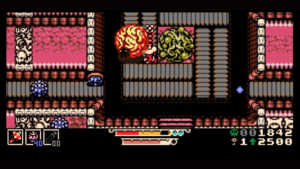
Second Button — Reached via the dimension swap, timed fall through despawning bat handles, and bouncing on purple balls. Required for progression.
Tips Before You Go In — Things I Wish I Knew Earlier
A few things that would have saved me time in the Stomach Mines that are worth knowing before you start:
The sparkly floors are always interactive. Every single one. If you see a section of floor that looks different from the standard surface — fall through it. The game uses this visual language consistently throughout the area and recognising it quickly saves a lot of time spent standing in rooms wondering what to do next.
The central burrow is not a one-way trip. You can go through it as many times as you need to. There is no cost or penalty for swapping dimensions — if something is not working in the version of the area you are currently in, just go through the burrow and try from the other side. This sounds obvious once you understand it and is not obvious at all when you first arrive.
Clear enemies before puzzles. Every time. Without exception. The Stomach Mines is generous enough with enemy placement that you can usually deal with them before they become a problem during a puzzle attempt. Take that generosity and use it.
Timing matters for the bat handle fall on the second button. You are waiting for the handles to begin despawning — not after they have fully disappeared, not before they start going. The window is specific and it takes a couple of attempts to feel it properly. Do not get frustrated with this one. It clicks fast once you are watching for the right moment.
Final Thoughts On The Stomach Mines
The Stomach Mines is the Stomach Mines is a genuinely brilliant piece of puzzle design dressed up as something that wants to make you feel stupid. The dimension swap mechanic, the bat handles, the bounce pads, the timed falls — all of it works together in a way that feels completely satisfying once you have cleared it. The two button puzzle in the central room is the kind of obstacle that looks impossible from the outside and completely logical in hindsight, which is exactly how the best puzzle design in games should work. Mina the Hollower does this consistently and the Stomach Mines is one of its best examples.
If you are working through the rest of the game and need help with other areas we will be building out our full Mina the Hollower guide coverage as we go deeper. Check back for walkthroughs on every major area, boss guides, and a complete collectibles breakdown as they go live.

Hello! I am Mr. Sano Ethan, a content creator, variety gamer, and the driving force behind Kick Of Draft. With over 6 years of hands-on experience across PC, console, and indie gaming,
Submit your review | |